Today I have joined up with a group of fellow Stampin' Up! Demonstrators to showcase products from the new 2025 January-April Mini Catalogue which is available from the7th January until the 5th of May and the Sale-A-Bration Brochure which is available from the 7th January until the 28th of February 2025. For every $100 AUD you spend during the Sale-A-Bration promotion period, you get to choose from fabulous free products.
If you haven't already got yours yet and live in Australia, contact me for your free copy.
You may have arrived from seeing
Kayla Renee's gorgeous creation but if you started here, click the 'Next' Button at the bottom of this post to continue hopping. Make sure you visit everyone - there are lots of great projects and you won't want to miss any!
It was very difficult to choose a product from the January to April 2025 Mini catalogue to showcase, because there are so many which I love.
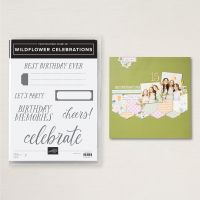
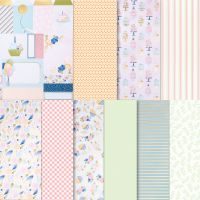
I chose the Wildflower Birthday Suite as it is so versatile and can be used for a multitude of occasions - basically any cause for celebration!
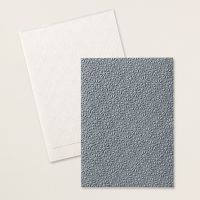
Another reason for my choice, is the fact that this Suite coordinates perfectly with the fabulous new Wildflower Birthday Scrapbooking Workshop Kit. This can be be viewed in my Online shop by selecting 'Shop Products' from the Main Menu and then 'Memory Keeping' > 'Scrapbooking Workshop Kits'. Plus during Sale-A-Bration, you can receive a free Level 1 item with the purchase of the Bundle and Designer Series Paper pack! I chose the Starstruck Embossing Folder as a free item and used it on the cover of my mini album,

Today's project was created for a special young lady celebrating her 21st birthday next month. I chose to make a fun fold card, very aptly named 'Centre of Attention'. I also created a mini album for her to keep her favourite photos of her special day and party.
This card is a fairly straightforward to make, using Stampin' Up!'s Paper Trimmer, which both cuts and scores.
The card base is Thick Basic White cardstock measuring 8" x 5 1/2" which is scored along the long side at 2" and 6". With the card base in 'Portrait' position, cut a slit 1 1/4" in from the side edge between the two scored lines (from the 2" to the 6" mark on the side ruler).Turn the card base around 180 degrees and cut the other slit as above.
With the card base in 'Landscape' position, score at 3" in from the left edge from slit to slit. Turn the card around 180 degrees and score between the slits again.
With the card base in 'Landscape position, score at 4" (card base centre) from the top edge down to the slit and again from from the lower edge up to the slit.
Measurements
Cardstock layers top and bottom: 1 7/8" x 1 1/8" (x 8)
Patterned Paper layers top and bottom: 1 3/4" x 1" (x 8)
Cardstock for centre panel: 2 7/8" x 1 7/8"
Patterned Paper for centre panel: 2 3/4" x 1 3/4"
Cardstock for back panels: 1 7/8" x 5 3/8" (2 pieces)
Patterned Paper for back panels: 1 3/4" x 5 1/4" (2 pieces)
The card folds easily to fit into a C6 envelope
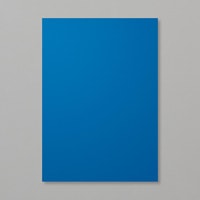
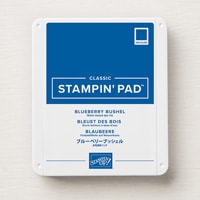
The Mini Photo Album cover was created using the cardboard inserts which come in the Specialty Designer Series Paper packs. I used Basic White cardstock to cover the cardboard for the outside cover and Blueberry Bushel cardstock to cover the inside of the album. The cardstock was glued to the cardboard using Tombow Multipurpose liquid glue.

Left inside pocket insert

Measurements
Cardboard Covers: 5" x 7" (x2)
Cardboard Spine: 7" x 1/2"
Outside Cover: 12" x 8"
Inside Cover: 10 1/2" x 6 3/4"
Outside Cover Cardstock Layer: 6 7/16" x 4 9/16"
Basic White Embossed Layer: 4 1/16" x 6"
Left inside pocket cardstock: 5 3/4" x 3 1/2" scored at 1/2" on 3 sides
Left inside pocket patterned paper: 4 1/2" x 2 3/4"
Left inside pocket insert cardstock: 8 1/2" x 6 1/4" scored at 4 1/4" on the long side
Left inside pocket insert patterned paper: 4" x 6"
Inside Flaps: 4 1/2" x 4" scored at 1/2" on the long side
All products used are available to purchase in my Online Shop
here.
Product List
I hope you have enjoyed seeing my project and have lots of fun creating your own!
Next up is my very talented friend from WA,
Nicole who I'm sure has an inspiring project to show you.
Thanks for stopping by and hopping with us today. If you get lost or if there's a broken link, you can find a link to the next blog in the list of participants below.


