So what is CASEing and how does it work?
To CASE means to Copy And Selectively Edit or to Copy And Share Everything!
Papercrafters find inspiration in many places - often when seeing photos with fabulous colour combinations, pictures with interesting layouts, other people's projects and especially in our Stampin'Up! catalogues. These are full of project ideas and samples to kick start our creativity.
It is totally acceptable in papercrafting circles to CASE projects, however the person who designed the project or layout should always be given credit. This can be done by mentioning their name and linking back to the blog or website where you saw the original design.

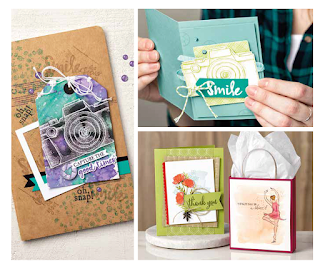
This week's CASEing the Catty challenge is the first for the new 2019-2020 Annual Catalogue and covers the Artistic Expressions section. I've used the card at the top right on page 142 as my inspiration.
I love the cards with the camera subject but as I don't have this stamp set, I decided to make my own.
I chose Gorgeous Grape cardstock for my card base and added a layer in the same colour stamped with the Birch background stamp in Highland Heather ink. I mounted the layer to the card base using Dimensionals. To this I added a layer of patterned paper in Highland Heather.
I chose Gorgeous Grape cardstock for my card base and added a layer in the same colour stamped with the Birch background stamp in Highland Heather ink. I mounted the layer to the card base using Dimensionals. To this I added a layer of patterned paper in Highland Heather.
I then constructed my camera using Silver Foil for the casing and Basic Black and Smoky Slate cardstock and Window Sheet for the lens and dials.
The viewfinder on the casing was created with the Envelope Punch Board. The lens was made using circle punches (see the photo below).
For the mode dials I used my bone folder to score lines close together to similate ridges.
The side grip was hand cut.
Once finished, the camera was attached to the card base over the striped ribbon using Dimensionals.
The sentiment is from the Daisy Lane stamp set.
Dimensions:
Card base: 21 x 14.85cms scored at 10.5cms
Stamped cardstock layer 13.85 x 9.5cms
DSP layer 9.5 x 7cms
Silver Foil 8.5 x 6cms: using the Envelope Punch Board, punch at 1" then flip and punch at 3/4"


No comments:
Post a Comment